
Electronics bill of materials:
- Raspberry Pi Zero
- Pimoroni Rainbow Hat
- 3S, 1500mAh lithium-polymer battery
- generic ultrasonic rangefinder
- adjustable stepdown converter
- a cheap-ass aluminum LED flashlight
- a couple of resistors, assorted microswitches
- 18ga, 20ga, and 30ga silicone-covered stranded wire
- heatshrink tubing (always heatshrink tubing)

The brain of Project Predator is a Raspberry Pi Zero. In the end, my life developing this would likely have been easier if I’d used a Pi Zero W – and having a pistol that is hackable over wireless is way cyberpunk, so there’s that – but a Zero was what I had in the house. The Pi is connected to an ultrasonic rangefinder, and a pair of momentary switches to detect magazine state and trigger-pulls, as well as to the Rainbow Hat by the standard GPIO header. Power comes to the Pi from a stepdown converter, connected to a 3S LiPo which also replaces the AAs that normally run the Stryfe’s flywheels. The stepdown also passes power to a cheap LED flashlight, which will be mounted under the barrel with wires run internally – because everyone needs a tactical light..


Before building the circuit, I prepared the Stryfe. The Stryfe is a flywheel blaster with a manual (non-motorized) dart pusher – a lever physically attached to the trigger – and it’s well equipped with safeties to prevent, I suppose, kids from sticking their fingers into the mechanism while the flywheels are running. In general, the first step to most Nerf mods is to tear all the safeties out and replace the stock wiring harness with a simple loop of 16ga wire from the battery, through the trigger switch, to the flywheel motors. There are lots of guides online on how to de-safety and rewire a Nerf blaster so I’ll leave that as an exercise for the reader. I then dremeled out all the AA supports in the battery tray and ran wires for the LiPo with XT60 connector – pos and neg from the LiPo run direct to the flywheels (through the trigger switch), and also to the stepdown converter, which outputs 5V to drive the electronics and the flashlight.
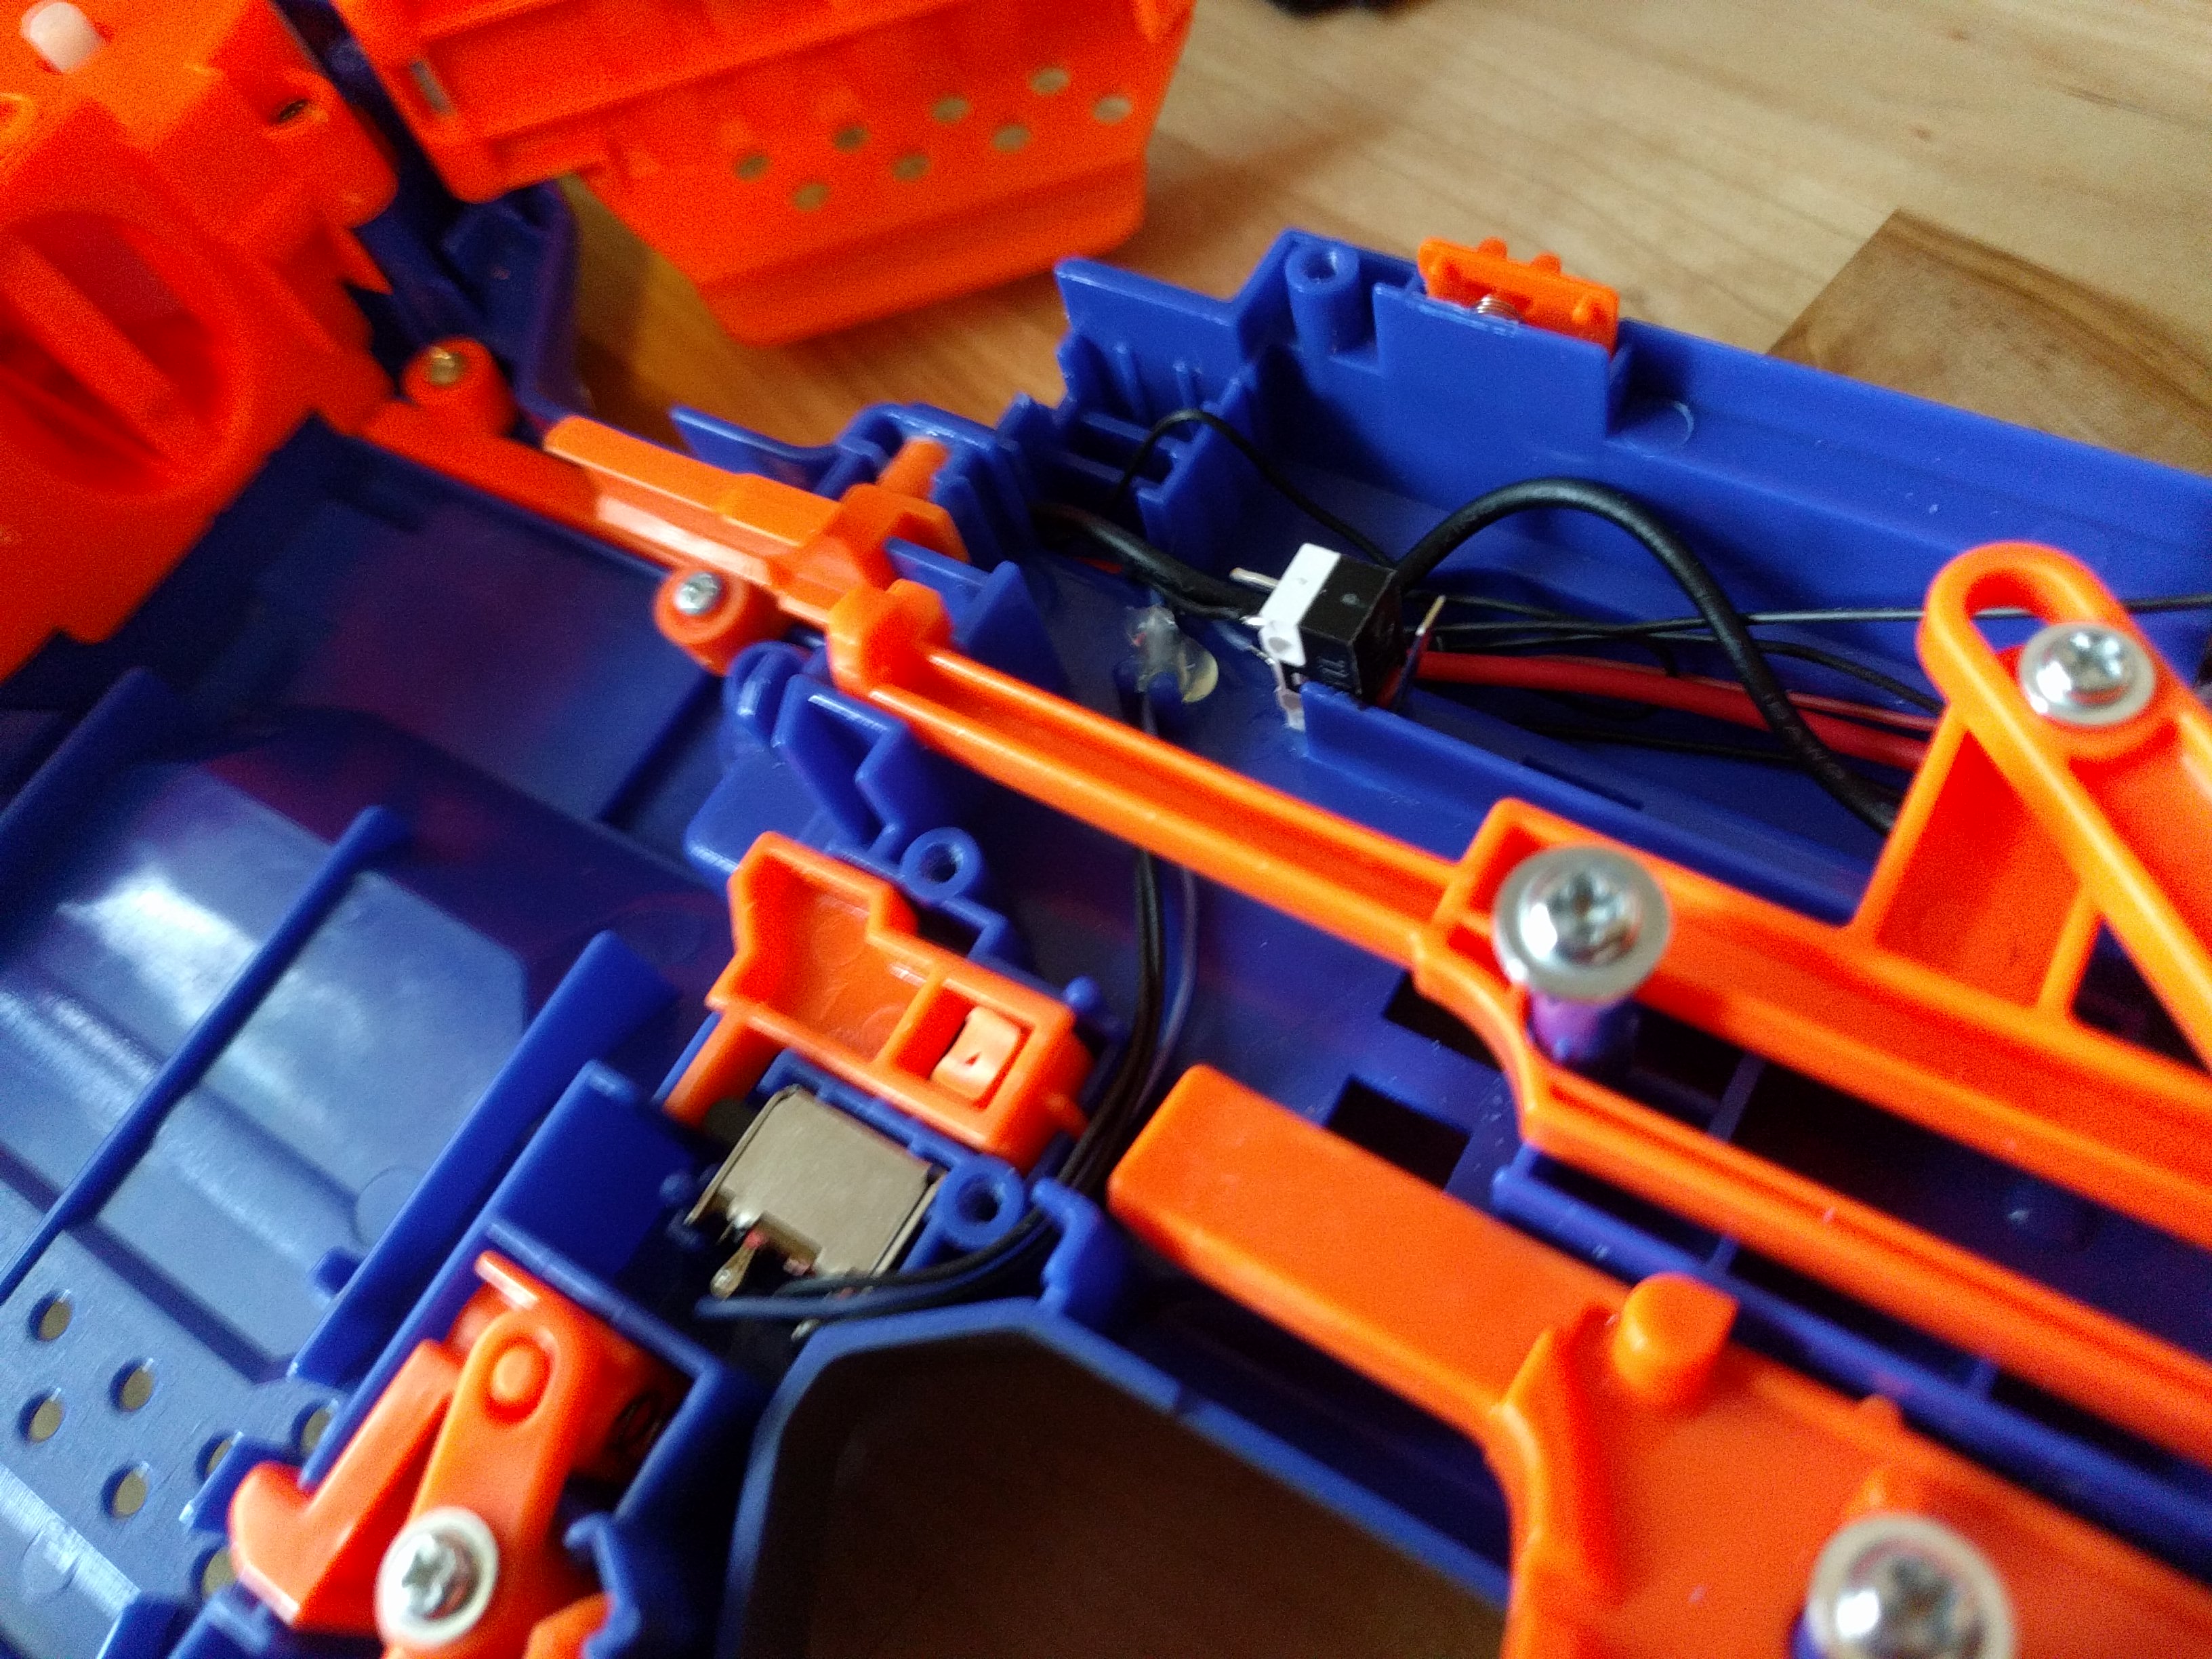
I left the magazine safety switch in place, but desoldered it from the firing circuit and added a pair of 30ga silicone wires to connect to the Pi. I added a microswitch (at the top of the picture, to the left of the pusher bar, glued to the shell with CA) and wired it the same. The stepdown converter fit nicely into the spot at the top of the blaster, with a dollop of hot glue to hold it in place.


I ran the switch wires along with 5V-out from the converter and the 12.6v for the motors through the magazine well, under the stock wire channel and under the flywheel assembly to the front of the blaster. The crappy little LED flashlight I had lying around, after buying twenty of them at Home Depot, was intended to run off 3 AAAs but I wanted to mount it permanently into the blaster, so soldered wires into it and drilled a hole up through the bottom of the forward tactical rail to run them into the interior of the blaster. (More on mounting in Part 3 – Cosmetics).


I then assembled the circuit. There’s not too much change to the circuit from its description in the project that inspired this, except that I didn’t install the proximity sensor at all (using the reed switch at the trigger to detect shot events) and that I powered the Pi directly from the stepdown, rather than using the PowerBoost500 charger. The switches share a common ground connection to the Pi, and the trigger switch connects to GPIO 22 (pin 15) while the mag switch connects to GPIO 27 (pin 13). I did prototype the ultrasonic sensor on perfboard, but the final version has resistors and wire soldered directly to the mounting pins, and relies on the 3D-printed enclosure to hold the sensor in place.