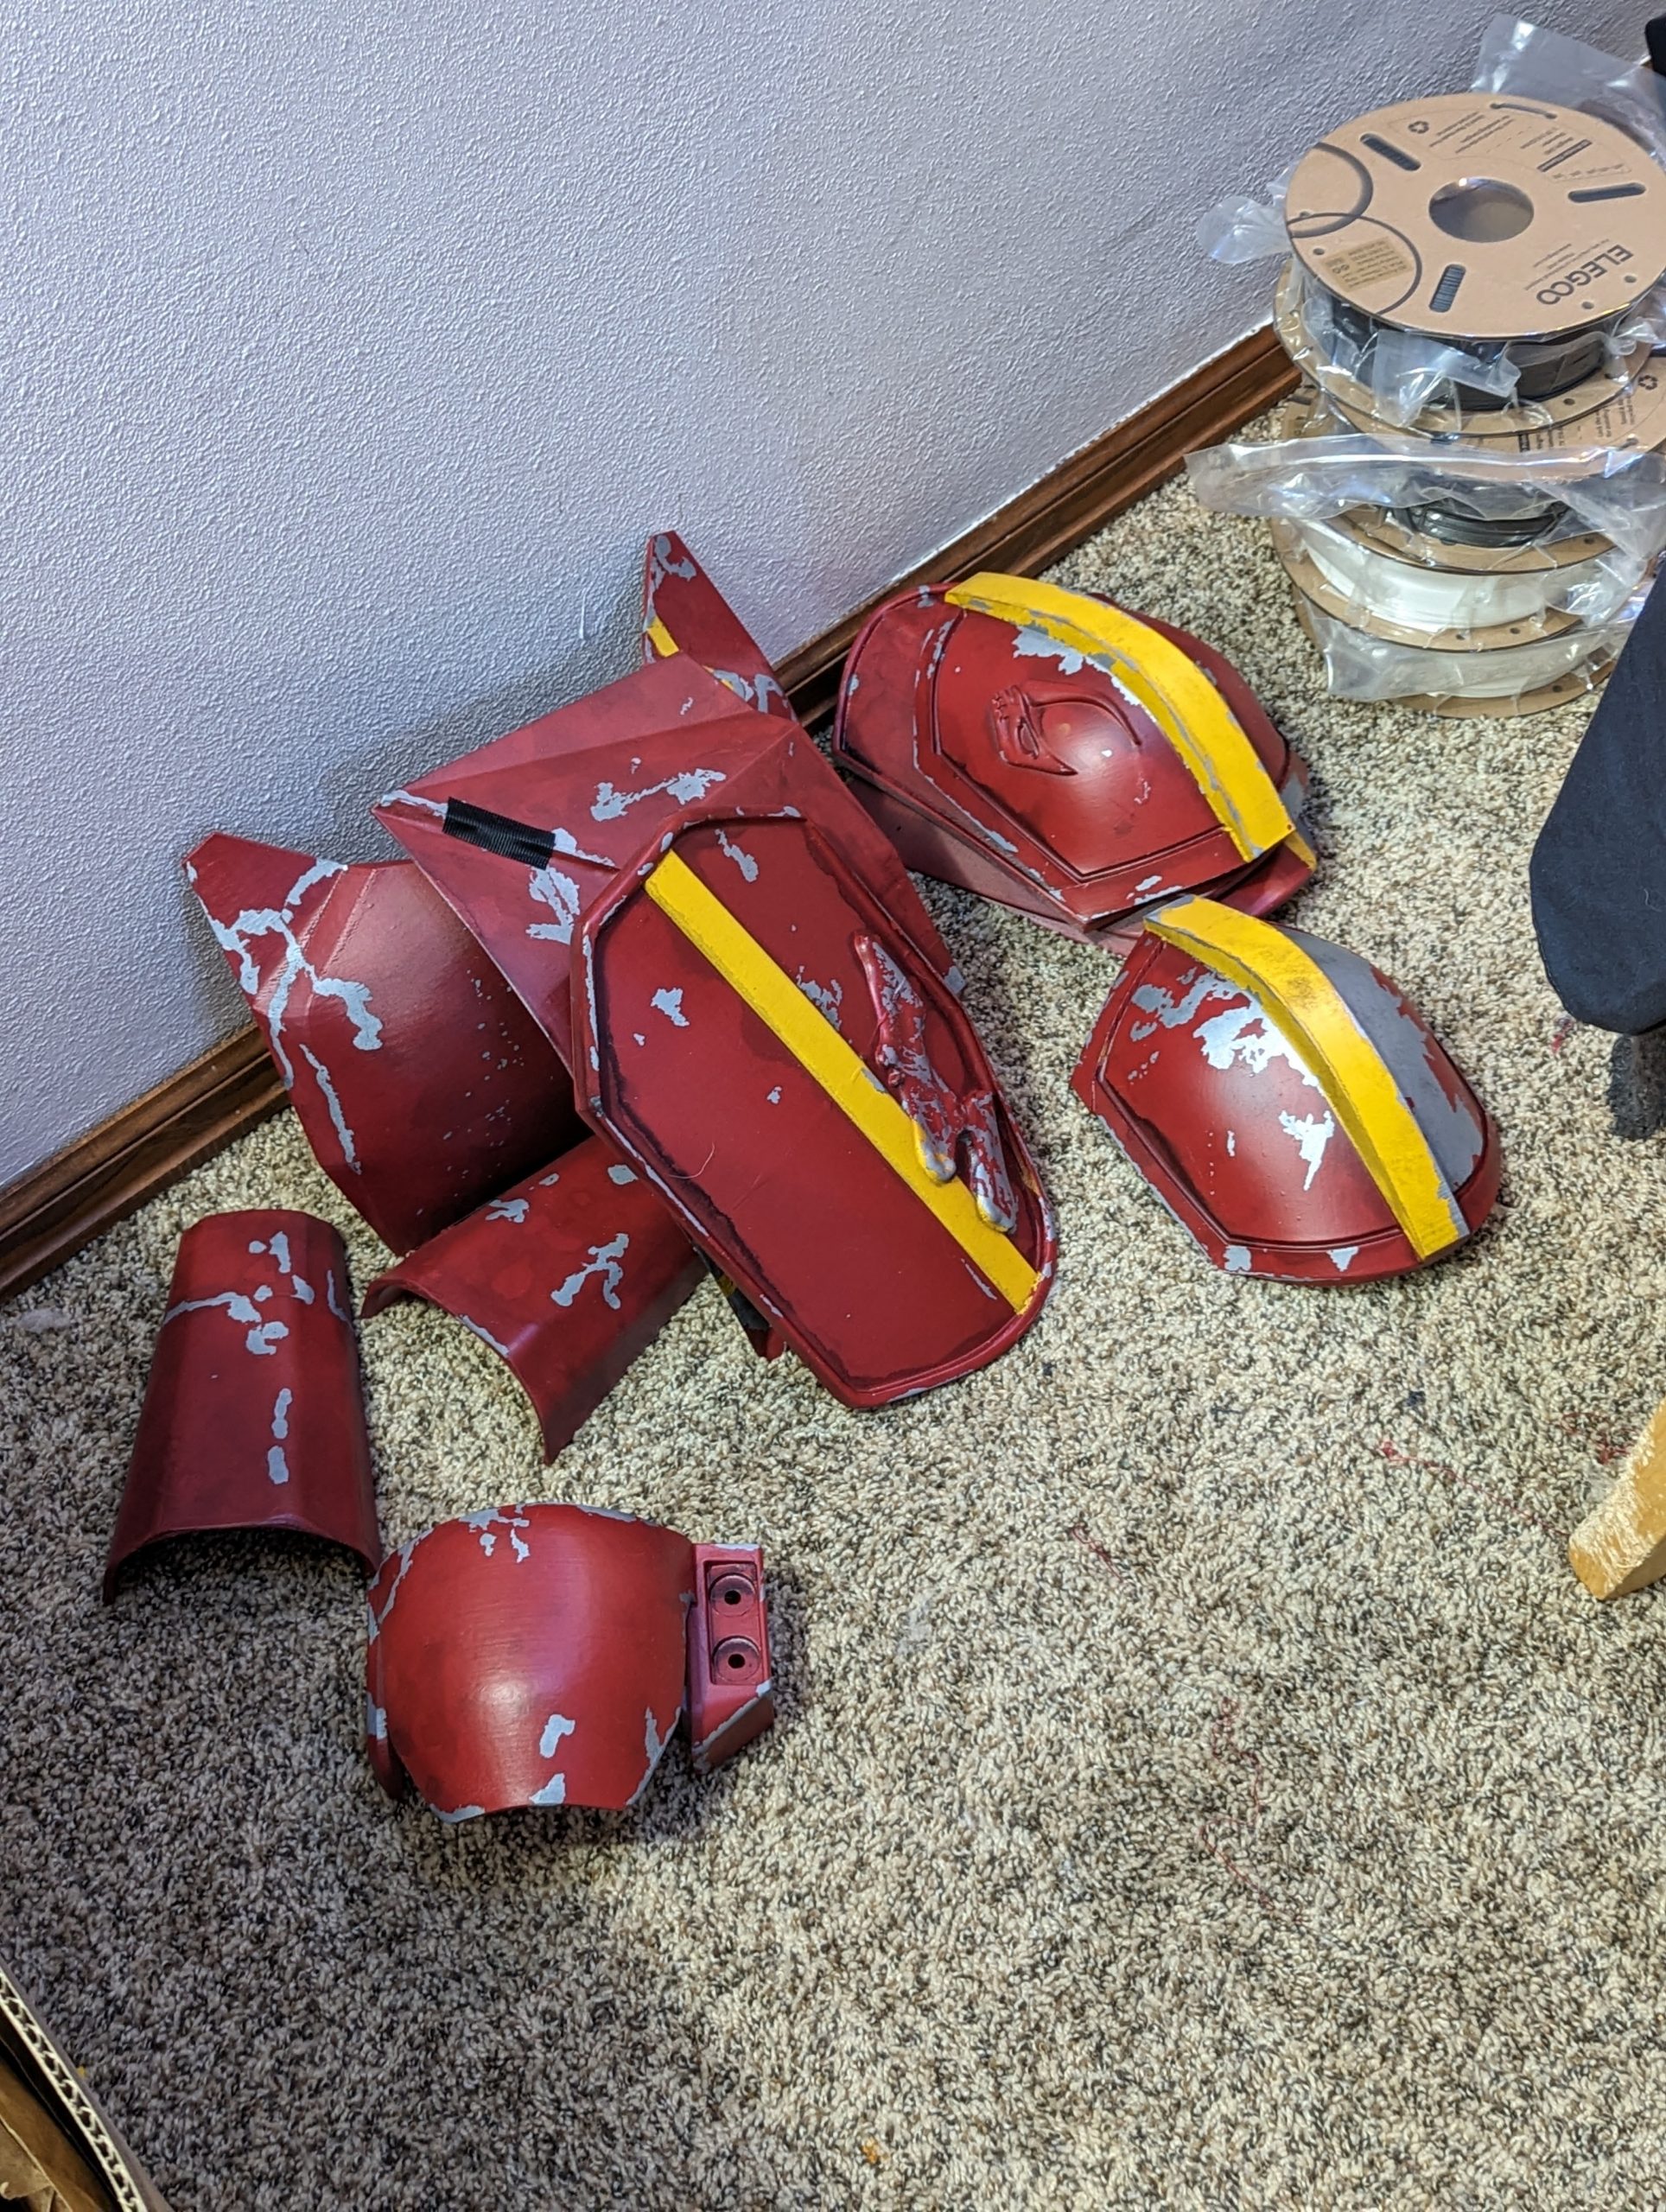
To start with – a lot of 3D printing was required. Most of these models were existing, some had to be hacked up for my purposes. My printer is a (wonderful, you should get one) Bambu Labs X1-Carbon, so the helmet, chest, abdomen, and right thigh pieces needed to be split up into multiple parts and glued together. These were all printed in relatively cheap Elegoo PLA, of various colors – To add some rigidity, where parts needed to be attached, I tacked them together with CA and/or 5 minute epoxy, and then followed up with fiberglass cloth saturated in TotalBoat 2-part epoxy. Learning sailboat repair finally pays off!
Some limited pre-painting finishing was done with Bondo Glazing and Spot Putty, and then a bit of sanding here and there. Nothing much. This is a real opportunity for improvement if I ever do something like this again.
My custom / remixed armor files are here.
The original helmet design is here.
The rest of the armor is here.